

I didn’t want to use real antlers because they would have been too heavy, so I have once again turned to polymer clay. I, myself, semi-followed a tutorial for making the antlers. However, that tutorial was for paper mache and I am not a real big fan of paper mache. It’s messy. So, I looked at the general instructions and incorporated the design with the clay. The spider web that I have created, I absolutely had NO idea what I was doing and I just made it up as I went. I’m pretty happy with the end look, I think.
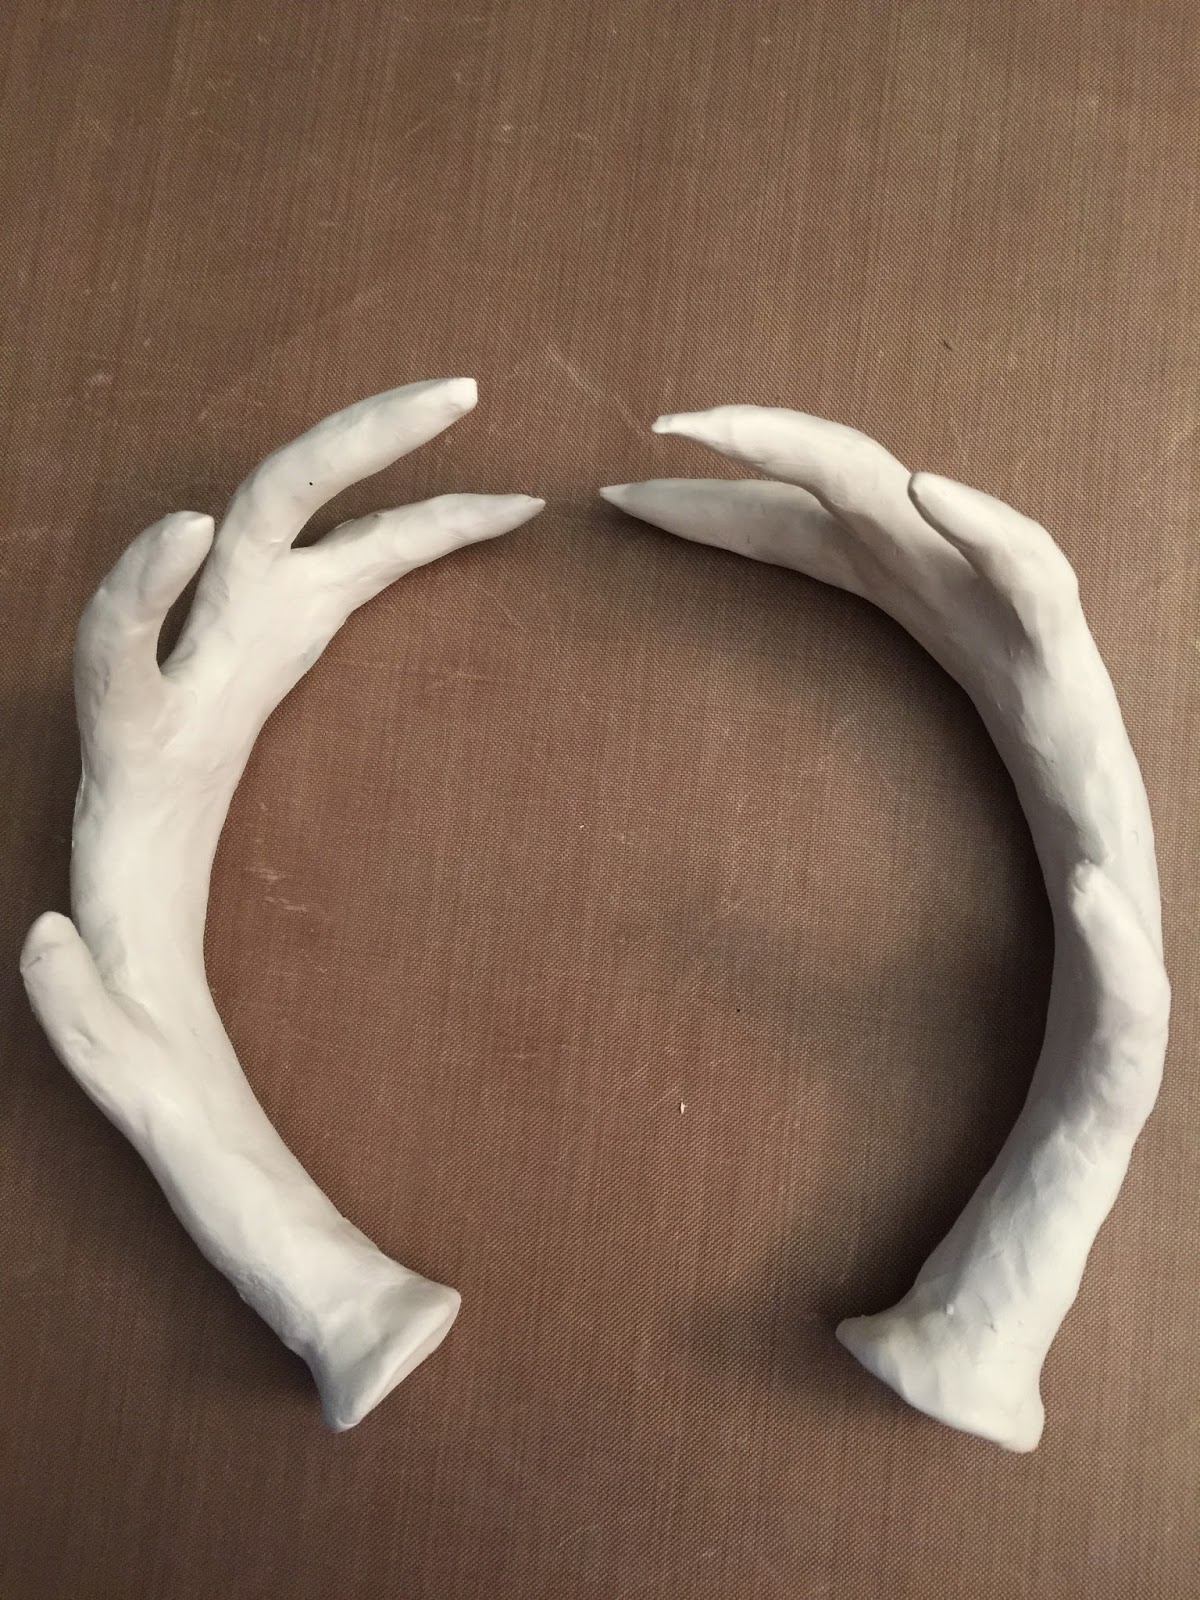
To start you will need some aluminum foil, floral tape, and original sculpey clay. Tear the aluminum into strips and shape into antlers. Remember to narrow the aluminum going toward the points of the antlers. You could also make them from just clay and they would be solid, but that would end up being heavy also. I made mine around 6 inches in height.


When you have them all shaped, wrap with the floral tape. Bend them the way you want them to be shaped after you have wrapped the tape.
The reason why you wrap it with the tape is to make it smooth for the clay. Roll out your clay into a thin sheet and then put on the antlers in sections and smooth.

Make sure to make the base of the antlers a bit bigger and make it flat as well. You will be hot gluing these to the headband.
After you have the clay evenly distributed, make ridges on the antlers with your tool. They don't have to be perfect, you just want to give them some texture.


Now they are ready to bake. While they bake you can make the mushrooms. Pop the antlers in the oven at 275 degrees for 20 minutes.

Since I wasn't sure how large or how many of the mushrooms I wanted to put on my headband, I made several different sizes. I can always use the ones that I don't use for this for something else later. To make a simple mushroom, just make a few "bowls" and then roll out a small stem. Bake them at 275, and I baked mine for 15 minutes.


To get the knotty look at the base of the antler, use your glue gun.

By this time, your mushrooms should be finished baking and you can base coat everything. I just used the same color to base coat. I used a cream color for the basecoat for all of it. For the antlers main color I mixed cream, butter yellow, and a tan color.


I brushed the main color on, then I wiped it off the glue dots and I sponged it near the tips, leaving some of the cream showing.


Okay, now here is where it gets a bit tricky. For the web, you will need hot glue and fishing line. If you have some fine glitter you can use that to make the hot glue sparkle. I needed to make a spider web base so I put intersecting string in first.

First, tie off the string around the bottom of one of the antlers and stretch it up diagonally to the top of the opposite antler and tie that off as well. Keep it taut. You don't want slack.
It's a little hard to see, but the string is going up diagonally to the opposite antler. Do that again with the opposite side. Start at the base and stretch across to the opposite antler so that you have two intersecting lines.

After I have stretched as many of the strings and tied them off, I knotted them in the middle with a short piece of line and cut off the excess string. I did this to keep them all intersecting in the middle. Put a dot of glue on this intersecting point. The drops of glue will look like dew drops on the web.

To start making the webbing, you will need to start using your hot glue gun. I just touched the first one and put a drop of glue. Immediately start blowing on it to make it dry. Before each drop of "dew" dries you can sprinkle with the fine glitter to give it a shimmer. As you go to each piece of base, glue it down. You can see what I mean in the pics. Continue around getting larger as you go.
Keep doing this process to make your web.


When you are finished, add more glue drops here and there to make more dew.
When you are finished adding the dewdrops you can then put your moss around the base. Decide where you want to place it and glue down.
Do the same with the mushrooms and your whimsical head piece is finished!


I hope you have enjoyed this craft and I have inspired you to make your own! Please share pics with me of your own.
No comments:
Post a Comment